Over the past few months, we have received submissions from
professional luthiers, beginner Do-It-Yourself-ers, and everyone in
between. With all of the love that we recevied, we decided to
highlight 5 of our favorite submissions, who did them, what
products and processes they used, and a photo of the finished
project.
Feel free to submit us your recent projects (as well as the
products you used on it) to qualify yourself to be in our next
blog! Submit your photos on our Facebook, Twitter, Pinterest, Instagram, or using our hashtag,
#MohawkConsumer
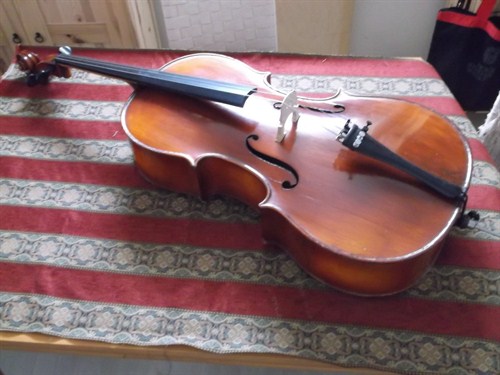
#1 - Mid-1950s Framus Cello Refurbishment
Completed by: American
Toolbox
Products used: Behlen Violin Varnish, Behlen Rottenstone, and Behlen Hide Glue.
The Process: "Received a damaged cello. Removed top,
repaired various cracks, reglued top with Behlen Hide Glue.
Extensive finish damage. Purchased Behlen Violin
Varnish, diluted with denatured alcohol, tinted with old collection
of pigments. Learned 57 ways not to apply varnish. Used
Behlen Wool Lube and Rottenstone extensivly
between coats and at completion. More images at www.nakedluthier.com"
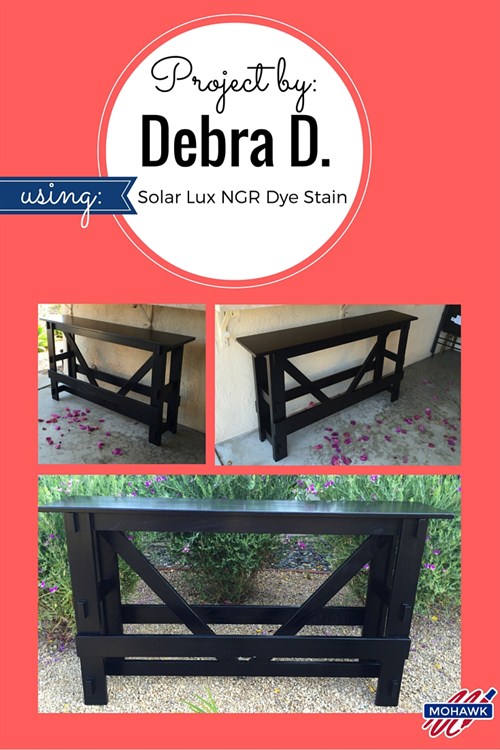
#2 - Table Staining
Completed by: Debra D.
Products used: Jet Black Solar-Lux NGR Dye Stain
The Process: "I made this bar height backless bench for my son's
outdoor bar. It has a 30" seat height. Made from red oak.
After assembly, a fine sand using 220 grit. 3 coats of
your Jet Black Solar Lux NGR Dye Stain. Using the finest
steel wool, lightly go over the first coat only. Then, I used
Old Masters Wiping Stain, Spanish Oak to really turn it ebony.
2-3 coats on top of the dye. Finished using Old Masters
water based Spar Urethane for outside protection. I used
quality 1 and 2 inch foam brushes to apply all the dye, stain, and
finish."
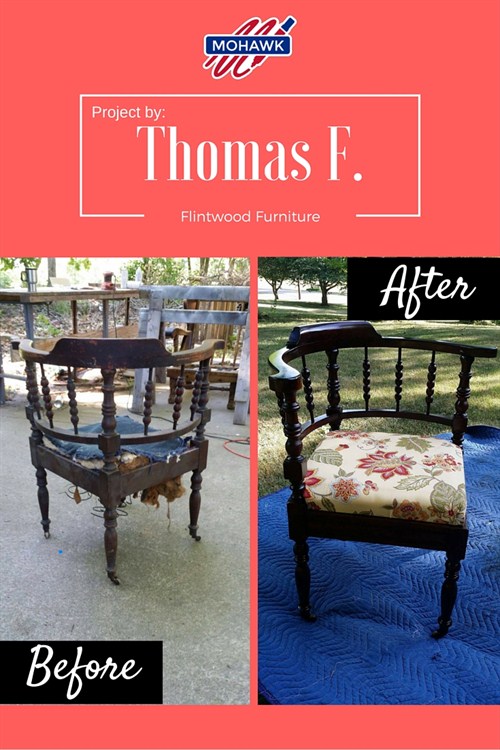
#3 - Chair Makeover
Completed by: Thomas F. of Flintwood Furniture
Products used: BurgundyStain with a Dark Red Walnut tinted Lacquer (Ultra Classic
Toner), and it was finished with Tone Finish Clear (Satin).
The Process: "First, I stripped it down by sanding it 3 times.
1st with 60 grit, then with 100 grit, then with 150 grit.
Then, I vacuumed it with a shop vacuum. Then, I washed
it off with Mohawk Naphtha, applied stain, let it dry for 2 hours,
sprayed 2 coats of lacquer, adn sanded again with 400 grit sand
paper. I tinted it with Mohawk Dark Red Mahogany Ultra
Classic, then finished it off with 1 more coat of Mohawk Satin
Lacquer."
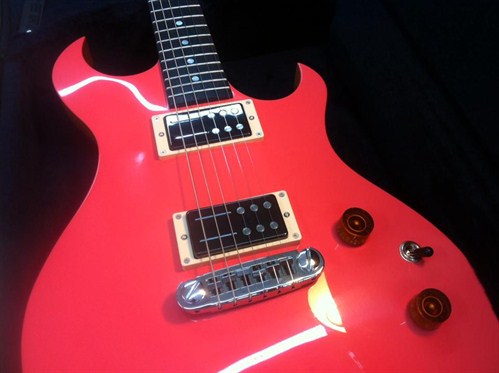
#4 - Finishing Done by a Luthier
Completed by: Jesse Ian
H.
Products Used: Classic Instrument Lacquer, E-Z Vinyl Sealer Medium Solids, and Lacquer Reducer 2255.
The Process: "My process is: Prep sand to 220 grit then 3-4
coats vinyl sealer. Apply grain filler and apply 1 more coat
of sealer. Then, spray 8 coats of clear lacquer reduced 50%.
Level sand to 220 grit and spray color coat. Then, 12 coats
of clear lacquer reduced 50% with thinner. Wait 1 week and
wet sand with 1200 grit and buff."
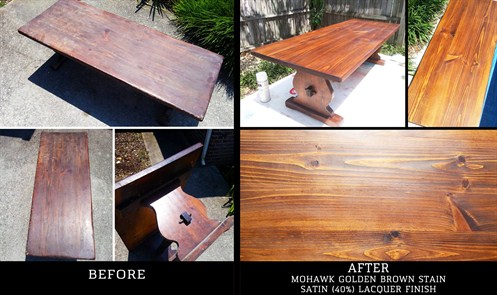
#5 - Before & After - Table Edition
Completed by: Curtis G. of
Curtis Glover Creative
Products Used: Designer Stain Radiant Series Golden Brown
Stain with a Satin 40 Lacquer Finish.
The Process: "Took 60 grit sandpaper to get the previous stain
off, hand planed the top to eexpose the character in the wood, 120
grit to smooth out rough edges, then 300 to give it that smooth to
the touch finish. Stain took well to raw wood and sealed it
with the satin finish, multiple overcoats on tabletop surface for
durability purposes."
We would love to see what you are working on: submit us your
photos at Facebook or Twitter!