We understand that DIY projects, although they mean
'Do-It-Yourself', may make you feel under-qualified to complete the
given task. Whether it is a broken chair leg, scratch marks
on your kitchen table, or making sure your cabinets are protected
and looking healthy, the projects range in difficulty from easy to
impossible, and we would like to help.
We have broken up this blog article into the following sections;
Wood Touch Up & Repair, Leather Touch & Repair, and
Miscellaneous Surfaces.
Wood Touch Up & Repair
Worn edges and areas of wooden furniture that has faded color
can be a small, yet annoying eye sore on your favorite piece of
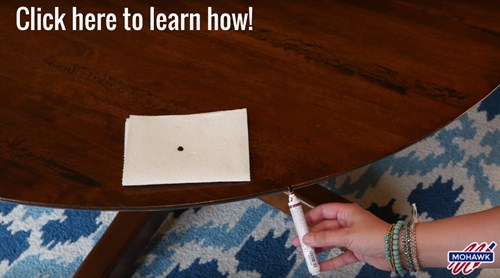
furniture. The Ultra Mark wood marker uses dye pigments to
stain the worn areas corresponding to the surrounding areas. Before
the marker is used on a surface, it should be tested on a spot that
is not easily visible to ensure the right color has been chosen.
We made a guide to help find the best color here. If you are curious as to how easy this
remarkable tool can help you, click the photo to see Tasha from
Designer Trapped In A Lawyer's Body walk you through it.
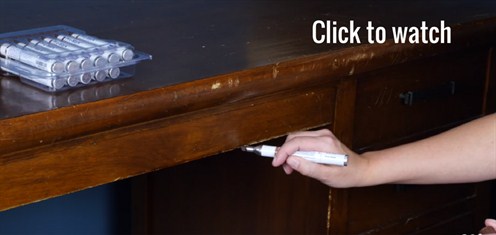
The Pro Mark offers a capillary tip that dispenses ink evenly
and can be used for one inch or 20 feet without stopping! The Pro
Mark contains dye colors instead of stain colors like that of the
Ultra Mark. An example of how the Pro Mark can be used is
found by clicking on the image below.
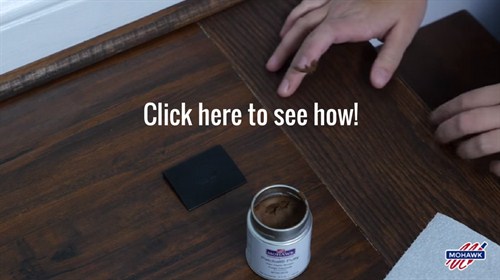
The area where two piece of wood come together can often be more
noticeable than desired, which is exactly why Patchal Putty is a
great fit. Patchal Putty is an easy to use putty that can be
applied with the tip of your finger. Simply collect the
desired amount, apply to the area needed, remove the excess with an
old credit card, and you are all set. Click to see how Tasha
applies it.
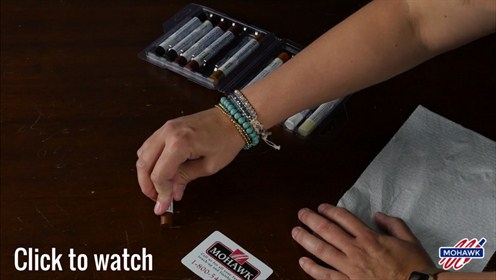
Finally for the Wood Touch Up & Repair section, Fill Sticks
can be used to add desired color to any minor scratches or gouges
on wood or hard plastic areas. Fill Sticks come in over 100
different colors, and are well respected and known in the touch up
industry. Simply pick your desired color, press the tip of
the Fill Stick to the beginning of the gouge, apply pressure, and
watch your scratch disappear! See what we mean by clicking
the image.
Leather Touch Up & Repair
While leather furniture has become a staple for the modern day
living and family rooms, that does not negate the fact that stains
and wearing down often tarnish what was once great. In order
to combat that, clean and protect your leather furniture with
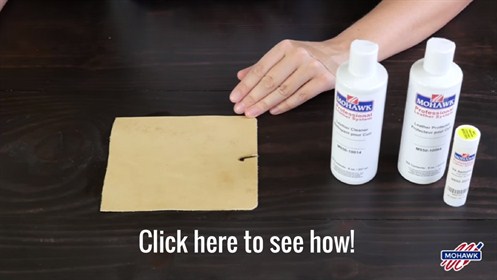
Mohawk. Not only does the Mohawk Leather System clean and
protect, but it also helps you remove stains like marks from pens,
lipstick, grass stain, and much more! See how quickly Tasha
removes pen from leather in the video below.
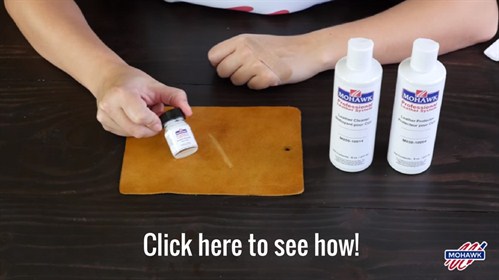
For natural leathers, it can be frustrating to look down and see
a scratch from where your dog's collar got a little too close for
comfort. Without the need to rub and pray it goes away, we
have a better idea. Why not have a jar of repairing solution
to combat this aggravating eye sores? Tasha takes you through
just how simple it is to make that scratch disappear.
Miscellaneous Surfaces
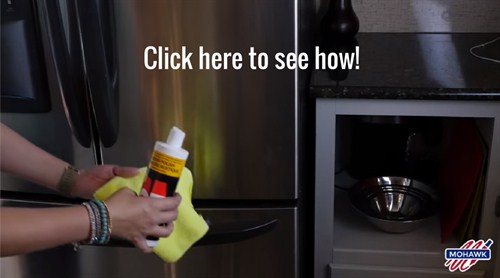
OZ Cream Polish is one of those things that can be used on
virtually (OK, not flat painted surfaces) anything. This
includes cleaning and protecting the following: enameled, varnished
and lacquered wood, metal surfaces, leather, linoleum, tile, glass,
porcelain, masonite, bathroom fixtures, windows, mirrors, pianos,
and all kitchen appliances. It's simple to use, but just to
showcase it, click below!
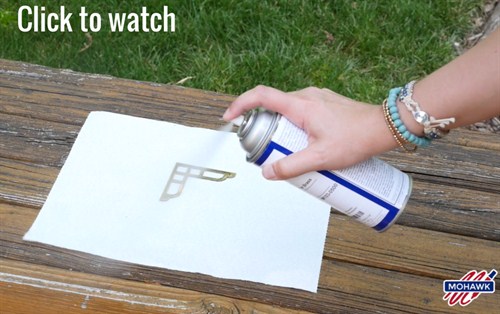
Tarnished brass can not only be frustrating, but it takes away
from the beauty and splendor that is brass! Protect and
polish it with our brass lacquer. See how easy it is
below.
There you have it! We hope that these videos make our more
intimidating products less intimidating. As always, reach out
to us with questions on our Twitter and Facebook - we love hearing
your feedback and project photos!