Congratulations to Chad Phillips from Guitar
Therapy for being our April Guitar of the Month winner!
Take a step behind the scenes with us as he goes into detail on how
he crafted this beautiful PRS SE.
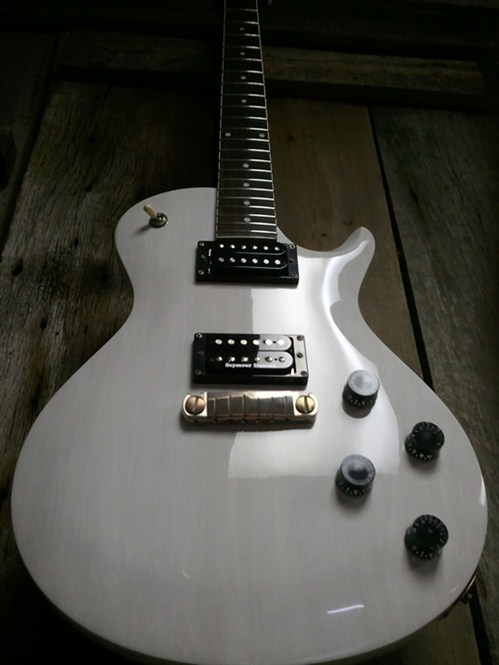
This is a PRS SE model guitar that I refinished
for a customer of mine. He had tall order for this finish, he
wanted a bright white that was transparent enough to show the
figure and grain of this piece.
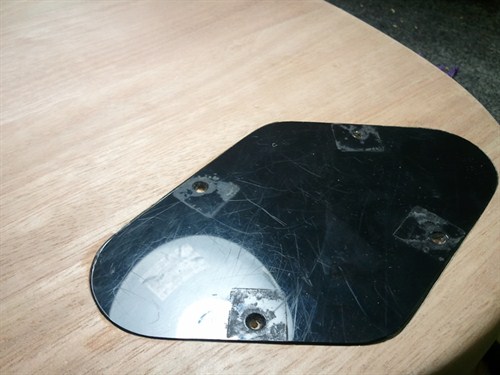
Close up of the
slab prior to applying base coat stain
Why was it a tall order? Because of the slab.
For starters this guitar is mahogany construction, so there is a
lot of red, not so subtle undertones in the wood. Secondly, the
grain is tight without much figure (more on that in sec). Third,
every so-called OTC "white" stain looks more flesh colored than
anything and in my experience, getting the opacity right is tricky.
This is especially true if you're trying to get a bright white
while maintaining enough transparency to allow any figure or wood
grain to be visible.
In the case of this slab, red undertones and
little figure usually mean that in order to keep the slab from
having a pink hue, you have to really go heavy with your color. But
you sacrifice what little figure you have in the process. If you
try to go light, you get the opposite problem: The figure is
preserved, but at the cost of color. What to do?
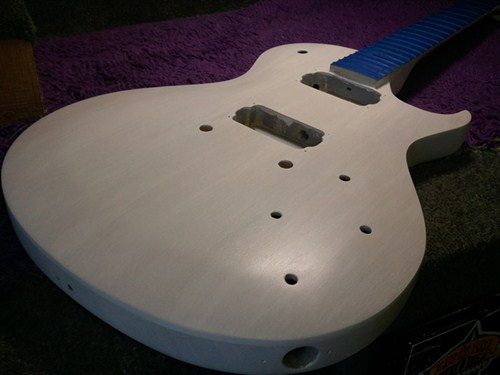
After applying the
base coat stain, the slab is still too pinkish or flesh colored
I experimented with making my own white stain
using ordinary flat white paint and water. I settled on a 3 parts
paint to 1 part water mixture for my base color. I settled on this
formula using trial and error on test slabs I had laying around the
shop, which had the requisite red undertones. Next, I ordered three
different toners from Mohawk to complete my stain tests: White Wash
M101-0202, Antique White M115-2017, and White Innocence
M115-0333.
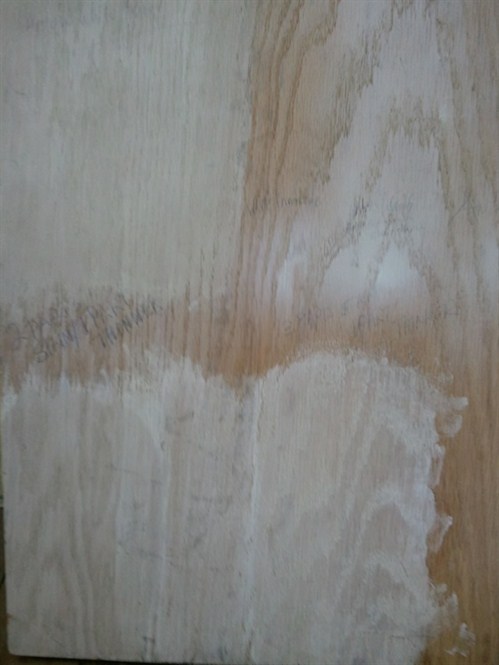
One test example of
combining stain base coats and Mohawk toners
Both the Anitique White and White Innocence
toners looked fantastic in my tests, but they didn't have the
bright white my customer wanted. Mohawk's White Wash toner ended up
being the perfect solution. It cancelled out the pinkish hue in the
test slab with a bright white that wasn't so opaque as to render
the figure invisible.
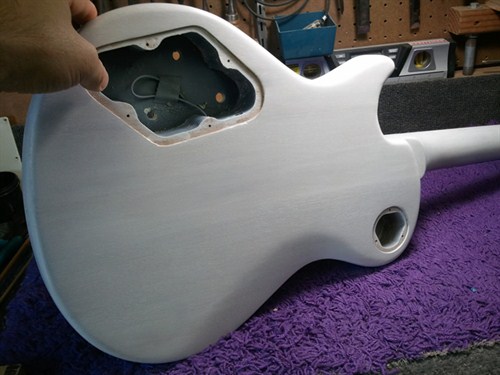
Final color after
applying base coat and Mohawk White Wash toner
The paint/stain was applied by hand for the
base color. The White Wash toner was the finishing touch, which not
only resulted in a transparent bright white, but also resulted in
color that was more uniform and consistent across the entire body.
This could not have been accomplished with my color base alone. It
was Mohawk's White Wash that ultimately made this color possible.
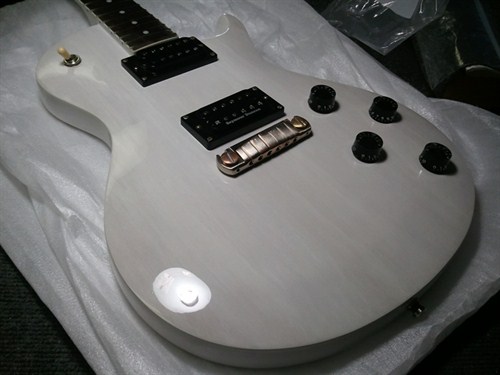
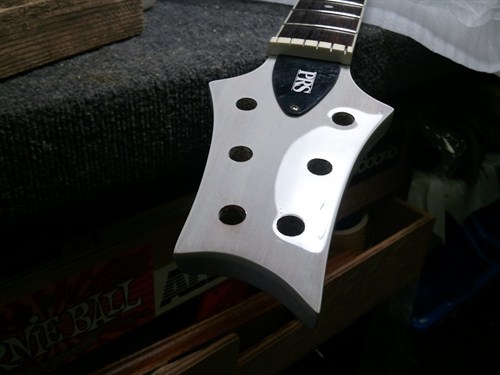
Once staining was completed, the guitar was finished in Color Tone
brand nitrocellose lacquer. I used high gloss for the body and peg
head. The neck itself was done in satin. No traditional sealers
were used underneath. Some folks might balk at this, but my
customer wanted a thin skin on this guitar for reasons of
tonality.
Lastly, when spraying with nitro, I usually
shoot 2-5 coats and then will knock it down with 600-800 as a
start. After that I just work on getting a good build of finish. I
rarely sand between coats. When I'm done shooting the nitro, I'll
let it cure for about 3-4 weeks before finish sanding. I graduate
up through my grits, starting around 800 and going as high as
2000-3000, after which I will buff the finish out with an orbital
buffer and Color Tone Swirl Remover. I feel like my method is
pretty lo-fi as finishing goes, but I get good results with it and
my customers are happy. Thanks Mohawk for providing the perfect
toner to aid me in completing this project.
To see more of Chad's work visit his website or Facebook page!