If you dabble in art or woodworking, you're
going to love this DIY project. We got some inspiration from
Pneumatic
Addict (Elishia), when she
created a frame of her own. Are you ready to
make a simple frame for a canvas painting?
Here's what you will need:
Step 1:
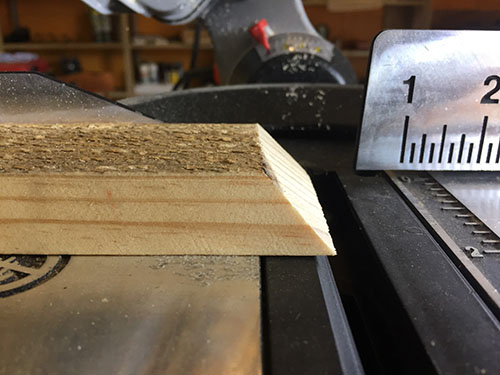
Start by setting your miter saw at 45 degrees
and cutting your first piece of wood. Using a 45 degree angle will
create a nice looking seam.

Step 2:
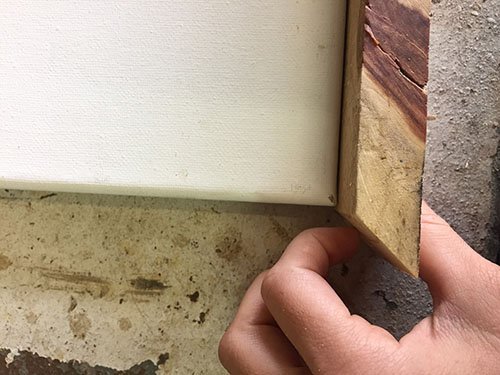
Take the piece you just cut, and line it up with
the first edge of the canvas.

Make a mark on the other end of the canvas, to
ensure your next cut will properly fit your canvas.

The length of each side of the canvas will become the short ends
of the mitered pieces.
Step 3:
Repeat step one. Take this 45 degree piece, line
it up with the one you have already cut, and repeat step
two. Do these steps until you have all four sides of
your frame.

Step 4:
Apply glue to both sides of the joint, align the
seams and attach the wood pieces together using your
pinner.

Step 5:
To get nice and tight joints, you will want to
use something to hold the frame together while it dries. We used
clamps.
Step 6:
Once the glue is fully cured, fill all nail
holes and cracks with wood filler. Allow to dry and sand smooth
with 320-grit sandpaper.

Step 7:
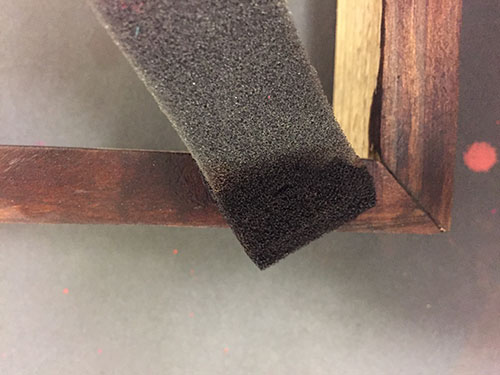
Now you are ready to stain. For this frame we
used ourSolar-Lux NGR Dye Stain in Van Dyke
Brwn.

Step 8:
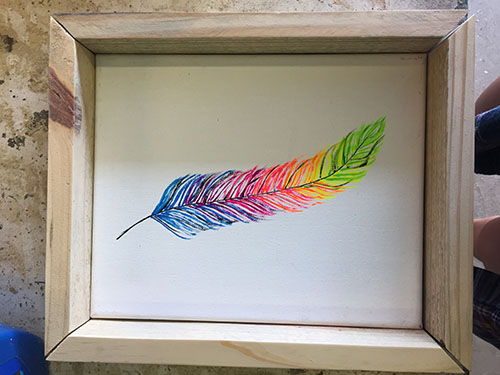
Once the frame is finished drying, slide your
canvas in, and it's ready to hang!

And there you have it! Show off your frames, we can't wait to
see what you guys created.
If you enjoyed this type of post let us know! You can reach out
to us on Facebook, Twitter, or Instagram.
See you next Friday!