How to Use Mohawk's 3 in 1 Repair Stick
September 08, 2017
Our new 3 in 1 Repair Stick is incredibly easy to use - so easy,
in fact, you'll wonder why you ever lived with damaged furniture
before.
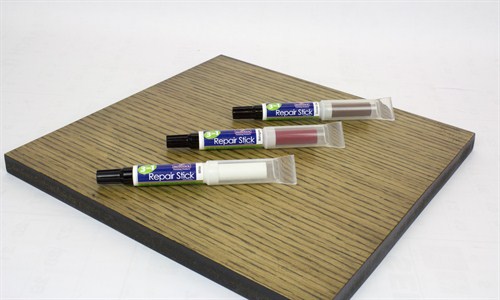
Currently it only comes in four (4) colors - white, white stain,
black, and brown. You can combine them to come up with a custom
match your specific furniture, or use them on their own. They
especially work great on IKEA® pieces, which is a dream come
true to anyone who has ever dented/dinged their IKEA® furniture
during moving and assembly.
Step One:
Pick the color that most closely matches the furniture you are
working on. If you are working on a black/brown piece, pick the
color that is closest to the color of the area you are touching up.
If it's darker, go with black, if it's a lighter area, go with
brown.

Step Two:
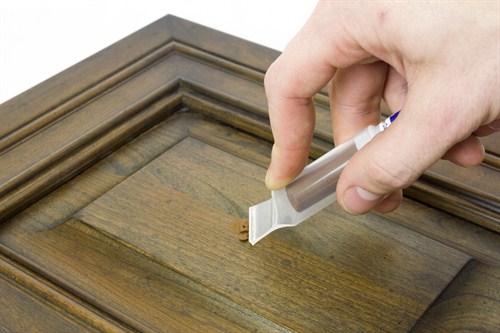
Make sure to remove any damaged wood that is sticking out of the
area with the scraper tool. You want a flat surface for your
fill.
Step Three:
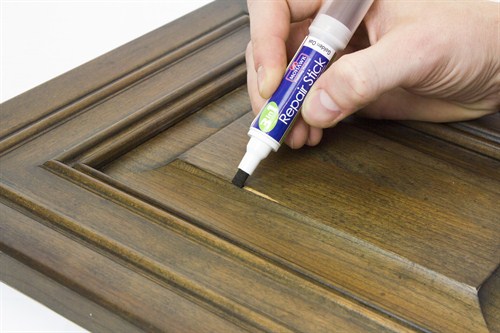
Fill in the damaged area with the marker to replace any color
that was lost, and wipe it with your finger to remove any excess
color.

Step Four:
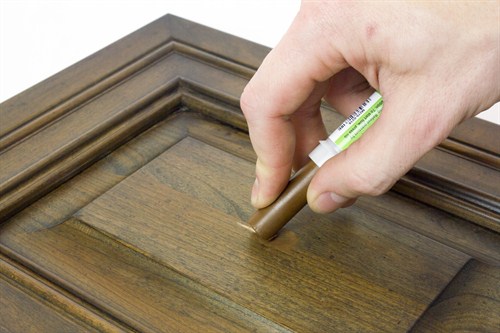
Use the fill stick side to fill in the damaged area, rubbing
over the damaged area at a 45* angle.

Step Five:
Use the scraper tool to remove any excess filler

Step Six:
Wipe the area with a cloth to clean it if needed, being careful
to avoid wiping over top of the filled area.
It's that simple! Join us on social media and let us know what
you think about our 3 in 1 and to stay in the know about our latest
products.